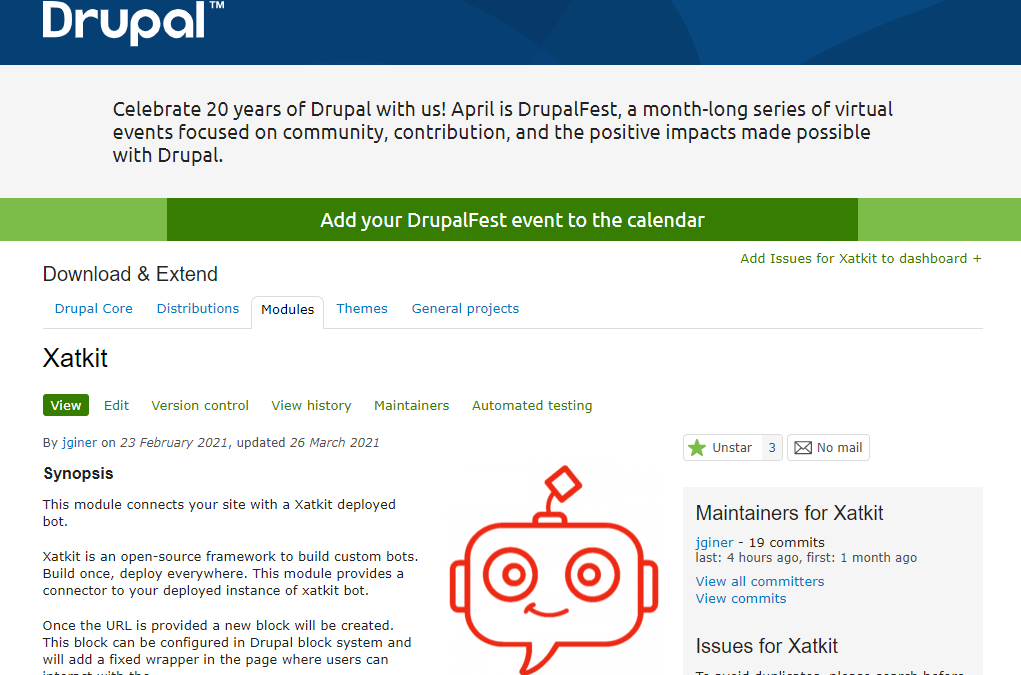
Xatkit offers a low-code/no-code approach to easily add a chatbot to any website. And beyond a dedicated chatbot plugin for WordPress websites, we are now releasing a Drupal module to easily add a Xatkit chatbot to any Drupal website. You can download and check all the details of the module in the project page at https://www.drupal.org/project/xatkit. Let’s see how it works.
Basic chatbot module configuration in Drupal
1 – Install the module via composer and enable it
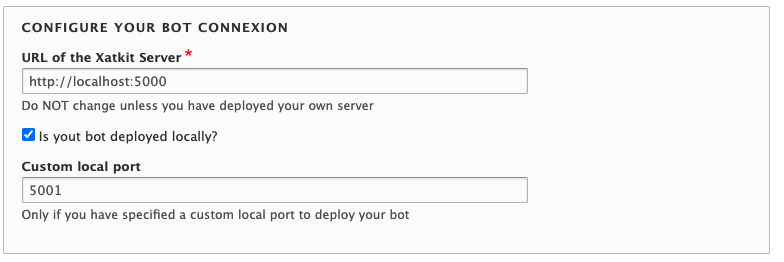
composer require drupal/xatkit2 – Go to /admin/config/xatkit and set the URL of a deployed xatkit instance.
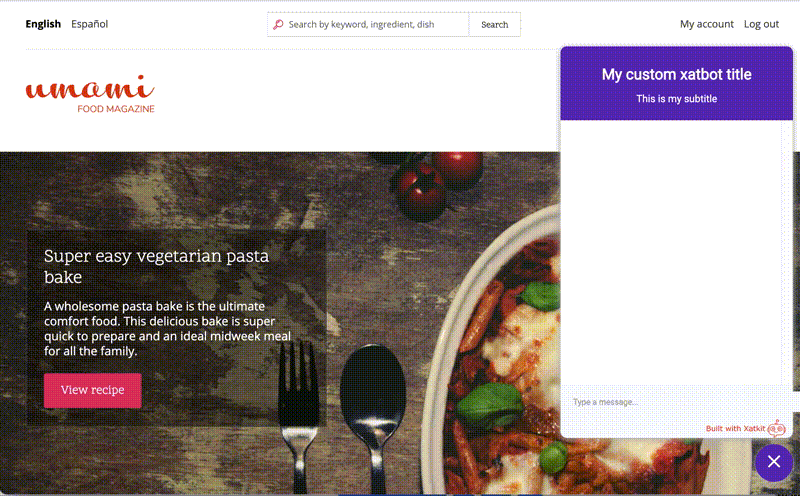
3 – In your Drupal block system /admin/structure/block there is a new block called “Chatbot: Xatkit”. Configure the block’s visibility, for example, setting <front>
That’s it!. The result:
Customizing the chatbot widget
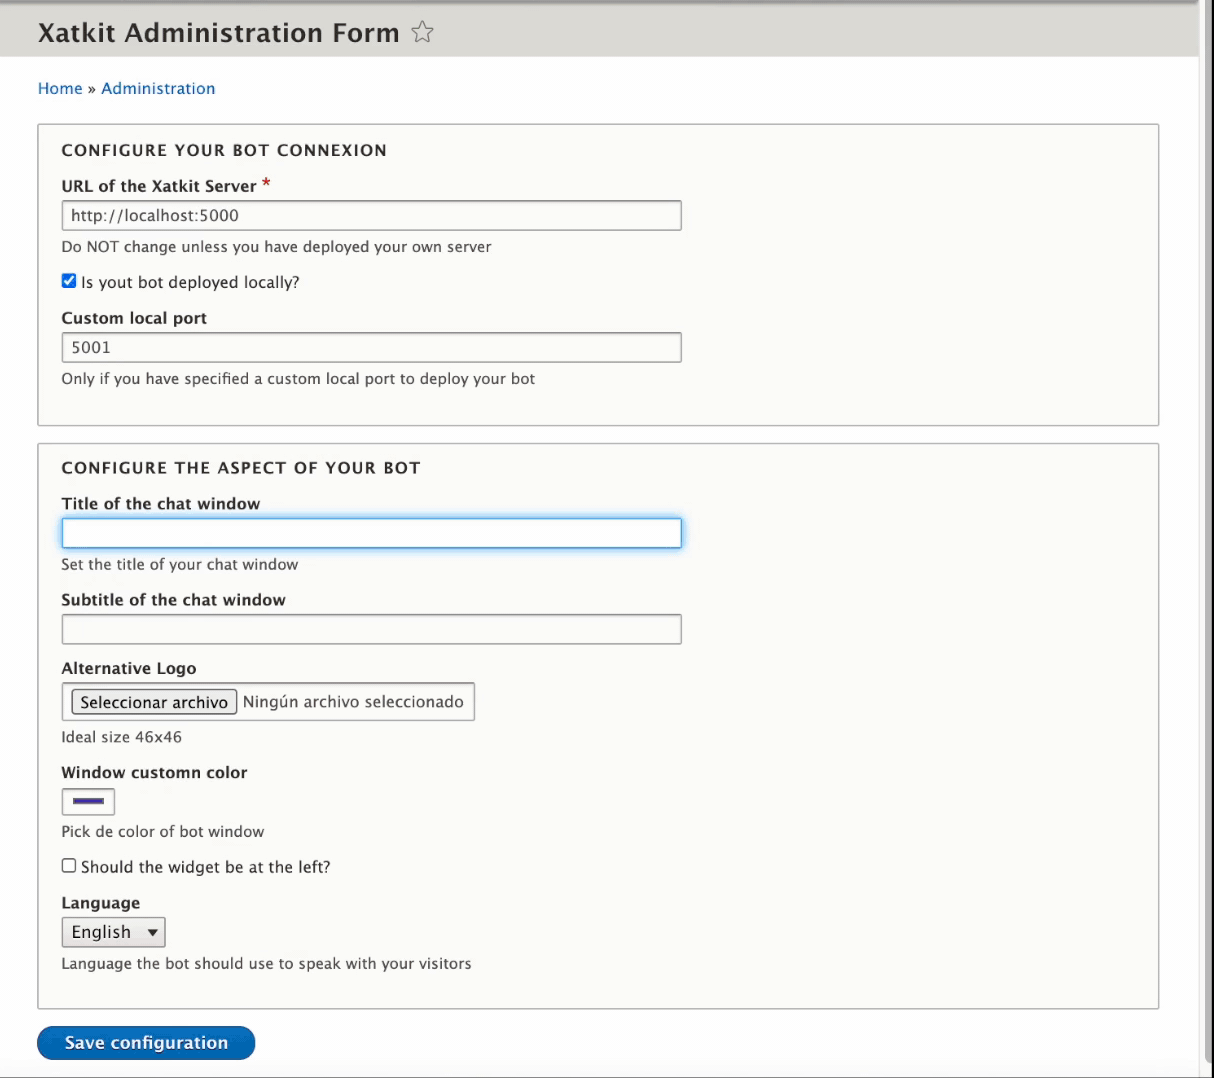
To configure the look and feel of the chat widget we can go to /admin/config/xakit.
On this admin page, we can configure the title of our widget box and its subtitle. We also can upload a custom logo, select the color of the box to fit the styles of our website, and indicate if you want to display the bot on the left-hand side of the window instead of its default position on the right side.
The bot widget is a React component that will be loaded when the corresponding Drupal block is displayed. The widget is set to “position: fixed”, so does not matter in which region you place it (except for the right/left configuration above), and applies the optional styles available in the template inside the custom module. In the assets folder, you will find the JS file in charge of calling the widget. Feel free to modify it for custom behaviors.
If you need some specific customization, please feel free to open an issue in the Drupal’s module issue page at https://www.drupal.org/project/issues/xatkit
Adding your own chatbot
Ok good, but… wait! this chatbot only say Hello!. That’s why the URL we have provided is a simple Xatkit instance only as an example. To have a full chatbot working on our site, you need to provide as URL of the Xatkit server the URL where your own bot is deployed.
To create and deploy a Xatkit bot, read and follow the instructions in our main Xatkit GitHub repository. Remember that Xatkit is an open source chatbot development platform (compatible with DialogFlow, NLP.js and several other NLP APIs and libraries) so you’re completely free to create and run Xatkit bots on your own. As soon as your bot is live, add the URL to the previous field and it will be automatically displayed in your Drupal website.
We do provide chatbot creation and chatbot hosting and monitoring services so we’ll be happy to help you create your bots, ask for a quote!. We aim to make the process as smooth as possible. For instance, we could even derive the bot from an Excel file you already have in your organization.
You may want to first test the bot locally on a local Drupal installation as well. To do this, the plugin gives an option to check if the bot is in the same machine, and allows you to specify a custom port. If you do not have specified a custom port leave the default value.
And that’s it! for more information visit our Wiki guide in Github: https://github.com/xatkit-bot-platform/xatkit/wiki